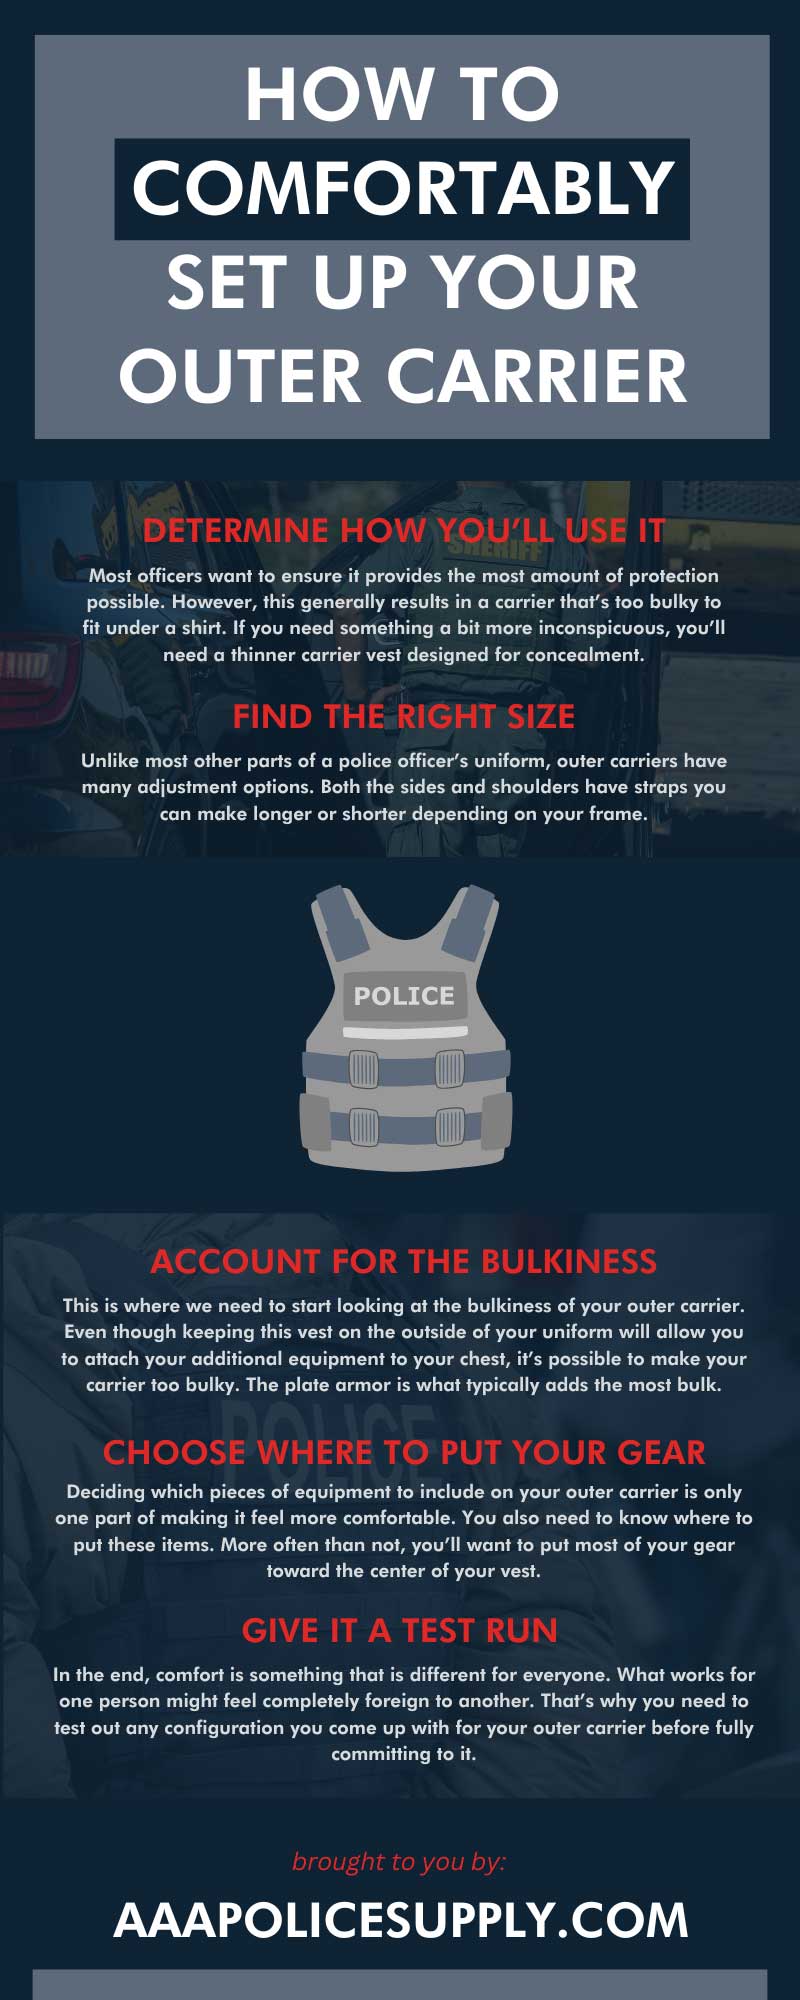
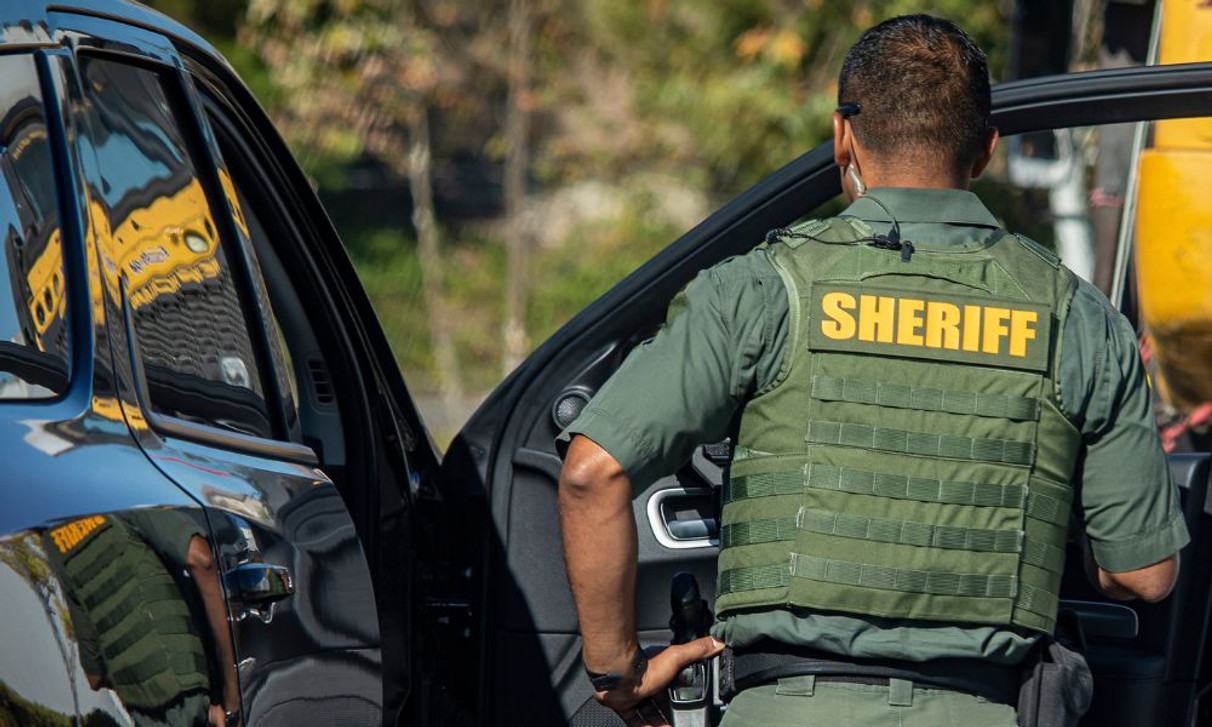
While some people might argue a sidearm is the most important piece of gear for police officers, one piece of equipment is far more valuable: the outer carrier and body armor. Without this, officers would have no form of protection against incoming bullets and shrapnel, making their job much more dangerous. Countless lives are saved every year by wearing body armor.
If your agency allows - make sure you have an outer carrier of your own! Knowing how to comfortably set up an outer carrier is important. That way, you can do the rest of your job effectively. This post will cover what you need to know to ensure yours fits properly and comfortably.
Determine How You’ll Use It
Before you even buy your first outer carrier vest, you need to take the time to determine how you’ll use it in the field. Most officers want to ensure it provides the most amount of protection possible. However, this generally results in a carrier that’s too bulky to fit under a shirt. If you need something a bit more inconspicuous, you’ll need a thinner carrier vest designed for concealment.
These days, though, the preferred style among officers is an outer carrier. The main reason for this is that it allows you to move some of the gear from your duty belt to your vest. This method is also proven to alleviate lower back issues by removing the weight off of your hips. If you want to take advantage of this, you’ll need to ensure you get an outer carrier with plenty of exterior pockets and molle webbing to attach your pouches.
Find the Right Size
Of course, the most important part to consider when making your outer carrier fit comfortably is the size of the vest. Fortunately, unlike most other parts of a police officer’s uniform, outer carriers have many adjustment options. Both the sides and shoulders have straps you can make longer or shorter depending on your frame.
However, this doesn’t mean all carriers are one size fits all. Those who are larger or taller than the average person might need to find a bigger size that covers more of their chest. In general, the front of the vest should stretch from the spot just under your collarbone to the lower part of your rib cage. In the back, it should go from a few inches below your shirt tag to the lower rib cage.
This will help ensure the carrier accompanied with body armor fully protects your heart and lungs. While it would be ideal to have an outer carrier that protects all your vital organs, it makes movement more difficult if the vest stretches too low on your body. Plus, reaching items attached to your duty belt will be much harder with that added length.
Account for the Bulkiness
This is where we need to start looking at the bulkiness of your outer carrier. Even though keeping this vest on the outside of your uniform will allow you to attach your additional equipment to your chest, it’s possible to make your carrier too bulky. Adding rifle plates will typically add the most bulk. This extra layer of protection typically gets slotted in on the inside of the vest. You’ll need to account for this additional bulk when considering what size to purchase.
Additionally, you should avoid moving some of your gear from your belt to your vest. Such as your duty issued firearm. The upside to belts is that you can spread your gear around your body. With a carrier vest, the majority of attachments should be in the front. Moving too much gear can make you front-heavy, causing you to struggle with general movement. Sometimes less is certainly more when it comes to adding gear to your carrier vest. Try to keep it to basic items like mag pouches, your radio, flashlight and a med kit.
Choose Where To Put Your Gear
However, deciding which pieces of equipment to include on your outer carrier is only one part of making it feel more comfortable. You also need to know where to put these items. More often than not, you’ll want to put most of your gear toward the center of your vest. Make sure none of them get too high, though. Any obstruction near your shoulders will make positioning your secondary weapon (like a rifle) quickly much more difficult.
You’ll also want to avoid keeping anything over your sidearm. Even though there should be some distance between the bottom of your outer carrier and your duty belt, any potential obstruction here could slow down your draw speed. This is true of most of the gear on your duty belt since reaching around your carrier pouches will be difficult. Still, it’s most crucial for sidearms, considering how quickly officers must draw them while on duty.
Give It a Test Run
In the end, comfort is something that is different for everyone. What works for one person might feel completely foreign to another. That’s why you need to test out any configuration you come up with for your outer carrier before fully committing to it.
After setting yours up, try pulling out each piece of equipment you carry with you while on duty. Make sure it feels natural to grab and check to see if anything else gets in the way when doing so. Try a few quickdraws to ensure your vest doesn’t impede your sidearm usage.
You should also try going for a short run with all your gear on. This will indicate whether your vest is too front-heavy / unbalanced or if certain items are in the way of your arms while on the move. Most importantly, it will help ensure your gear will not fly off while in a sprint. Your storage options will do you no good if everything is missing once you catch up to the perp.
After determining how to comfortably set up your outer carrier and testing it in a controlled environment, it’s time to give it a real-world test. Try your new setup while on duty. Make sure everything feels right during your regular activities. Even sitting in the police car for long periods of time needs to be comfortable with a carrier vest on, so adjust as necessary.
Through trial and error, you’ll quickly learn what works best for you. Hopefully, these tips will give you a good starting point for achieving maximum comfort. This way, your transition won’t seem as extreme as you get used to your new outer carrier.


